PLANTING TIPS FOR GROWING SUCCESS
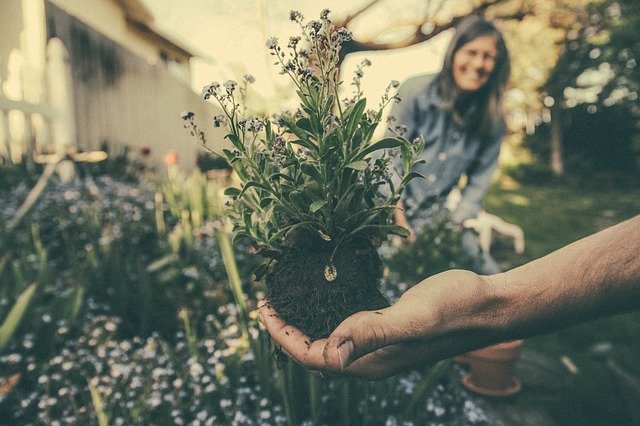
Increase your growing success by giving your transplants a good start with a few simple planting techniques. Preparing them for
Read More
Increase your growing success by giving your transplants a good start with a few simple planting techniques. Preparing them for
Read More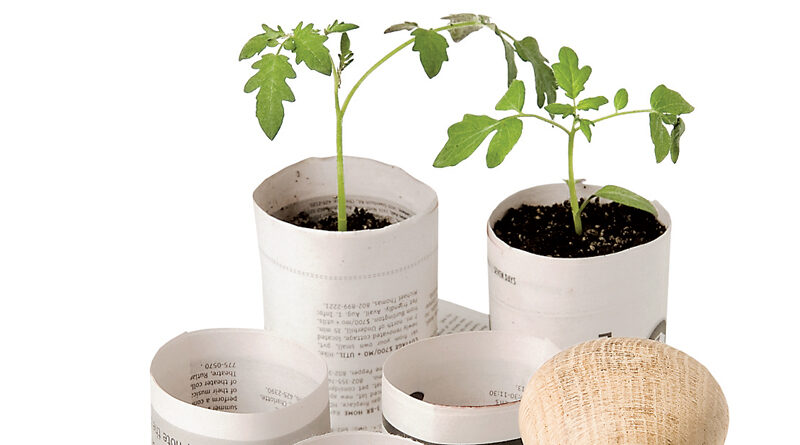
You created your wish list, ordered some or all of the seeds you will need, and they are beginning to
Read More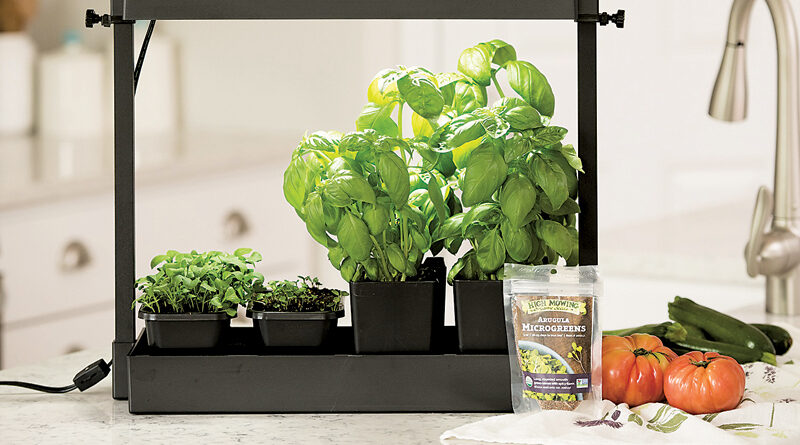
Add fresh flavor to your meals year-round with microgreens. These easy-to-grow greens need minimal space and no special equipment for
Read More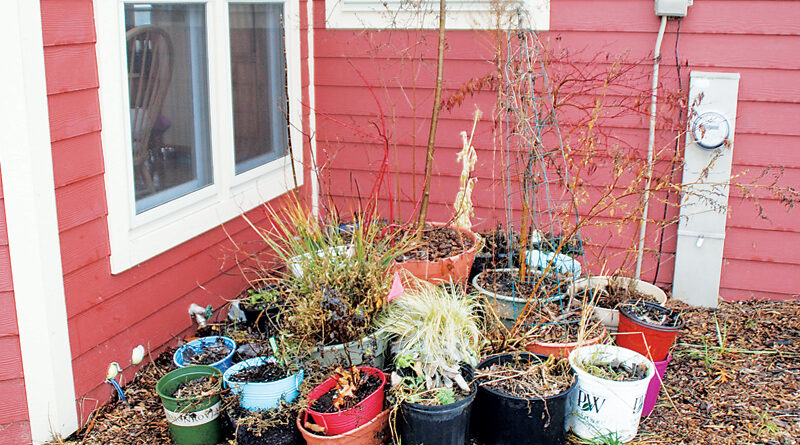
As you prepare your landscape for winter don’t overlook the trees, shrubs and perennials you have growing in containers. These
Read More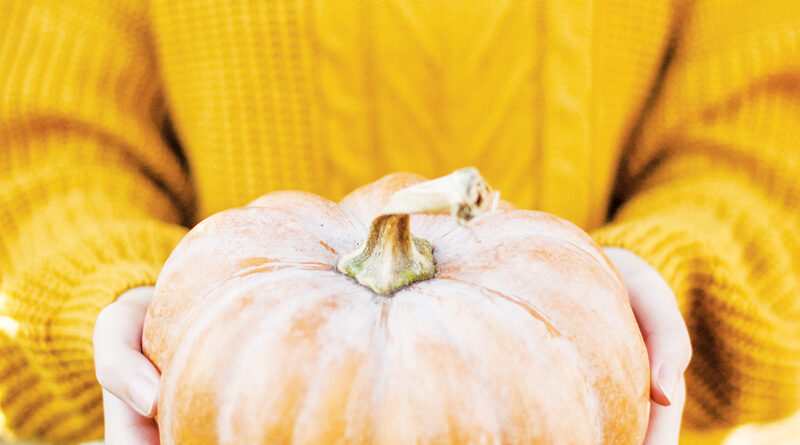
Pumpkin is not just for dessert. Consider using this low calorie, flavorful vegetable, botanically classified as a fruit, in any
Read More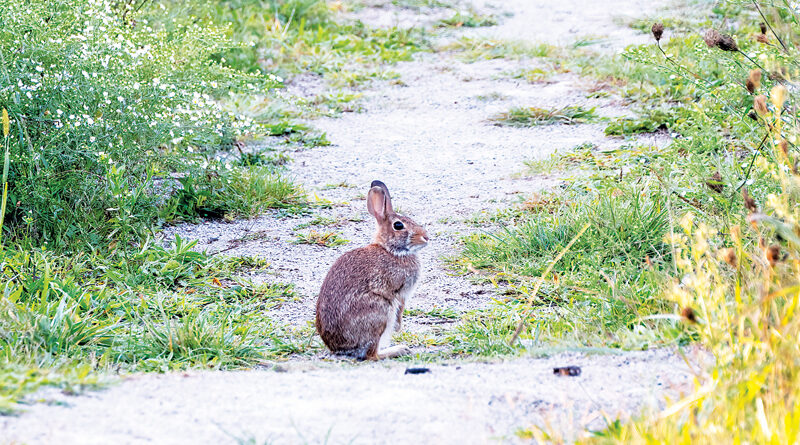
As the seasons change, we adjust our gardening tasks and plantings to match. Animals also make changes this time of
Read More
It’s time to think spring. Fall is the time to plant tulips, daffodils, crocus and other spring flowering bulbs. Use
Read More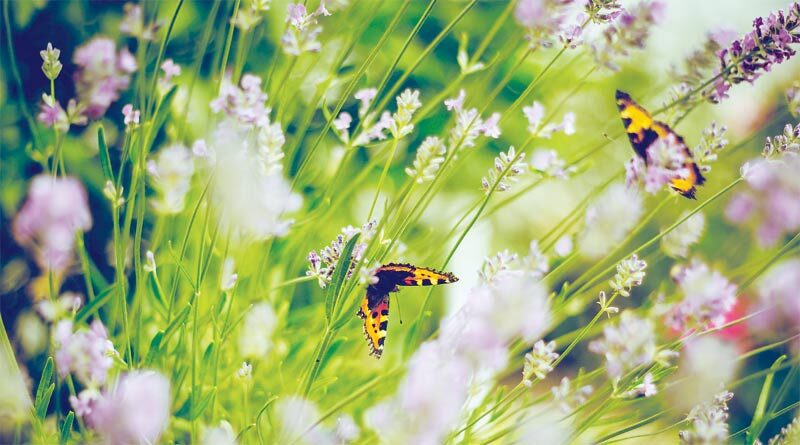
Whether it is the hot weather, the age of your landscape or simply the need for change; a late summer
Read More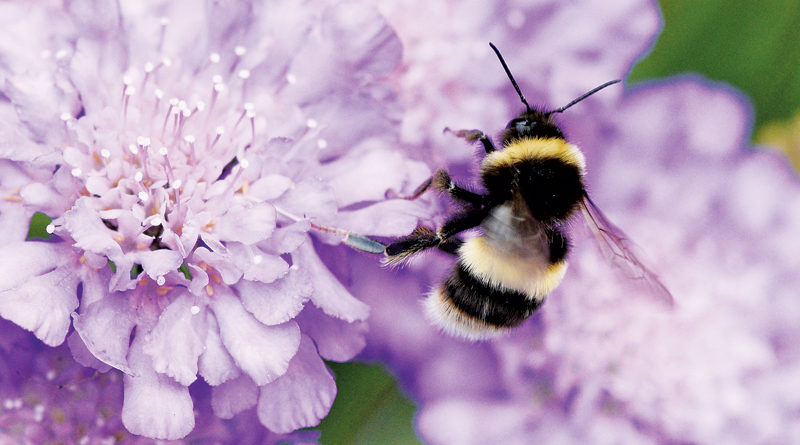
Pollinators are responsible for about 75% of the food we eat. The European honeybee is the most well known but
Read More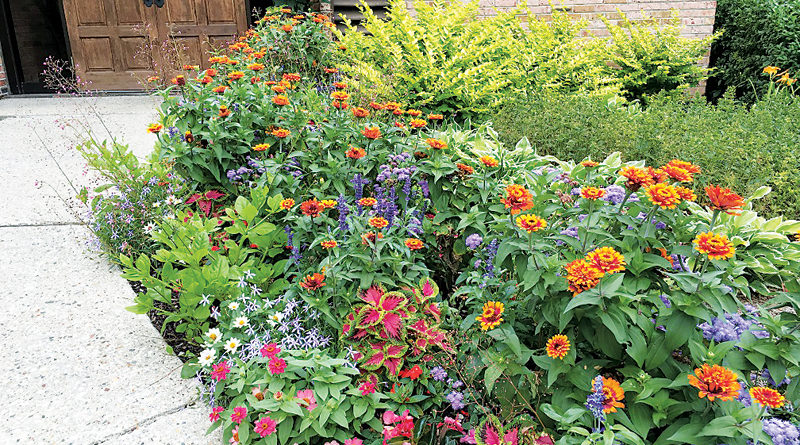
So, you filled your shopping cart and gardens with lots of new shrubs, flowers, and vegetables. Now what? Keep your
Read More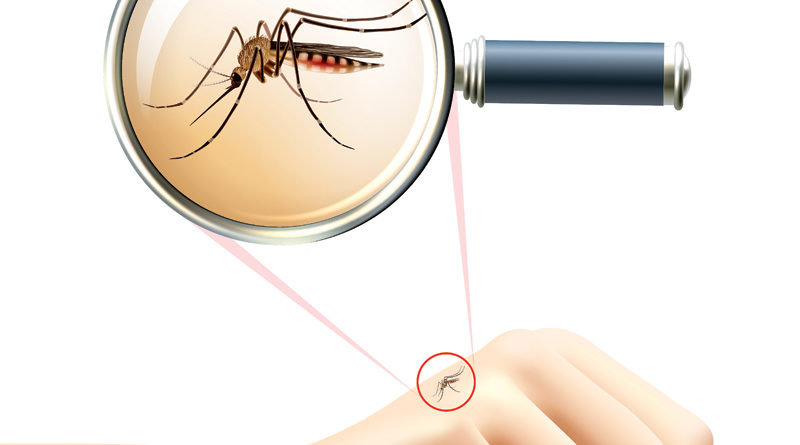
Don’t let the buzz of mosquitoes keep you indoors. Most mosquitoes are a nuisance, causing rashes and itching but some
Read MoreMay is National Skin Cancer Awareness Month and a busy time for gardening and other outdoor activities. Gardening provides many
Read More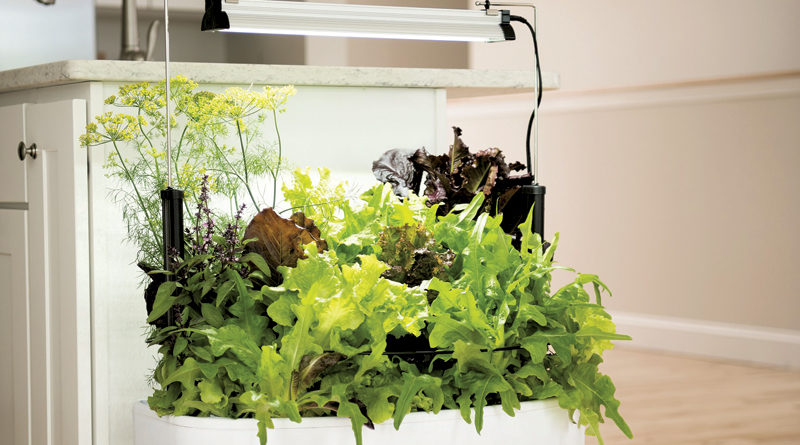
No matter the season, size of your garden or climate, you can inject homegrown flavor into your meals. Just clear
Read More
Raking fall leaves can seem like a chore and a never-ending one, at that. Reduce time and effort spent managing
Read More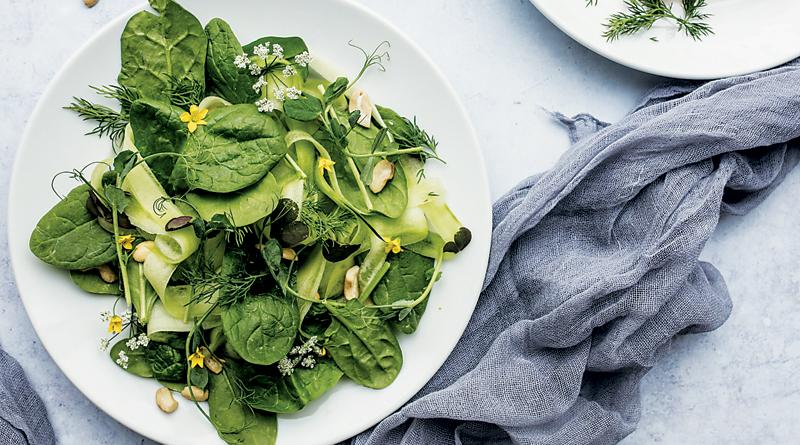
Don’t let fall or potentially frosty temperatures stop you from enjoying garden-fresh produce. Extend the nutritional value and homegrown flavor
Read More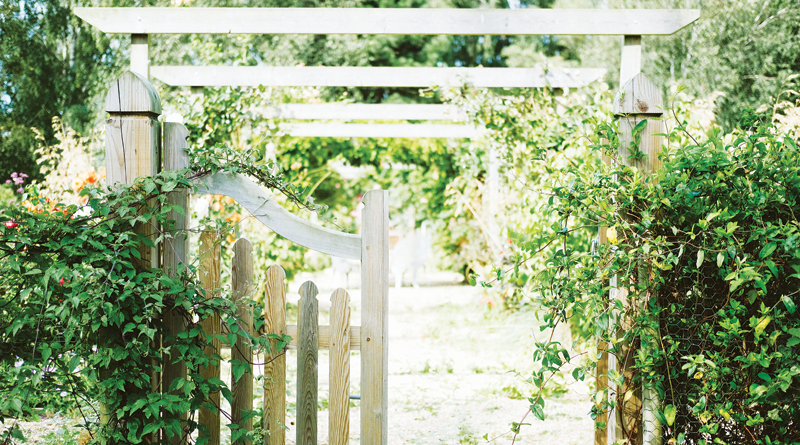
The cool wet spring delayed planting, deck and patio installations and other outdoor projects. Fortunately, there is still time to
Read More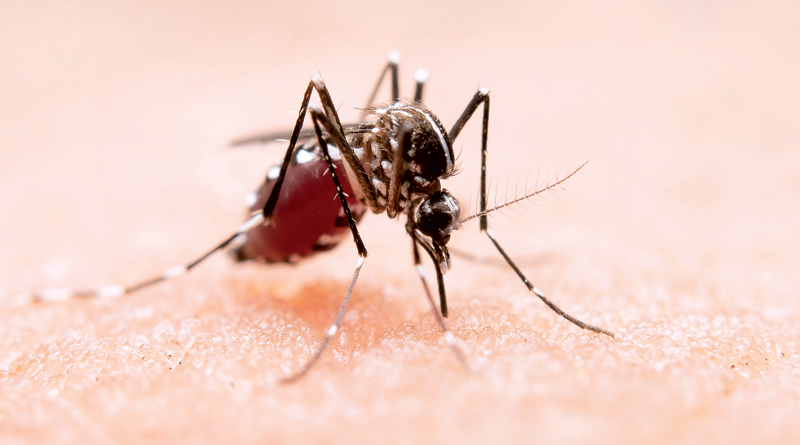
It’s time to get outside and enjoy summer BBQs, gardening, hikes and much more. Don’t let mosquitoes keep you inside.
Read More
You’ve grabbed your water bottle, sunscreen and hat for a hike in the park or some gardening. Add a bit
Read More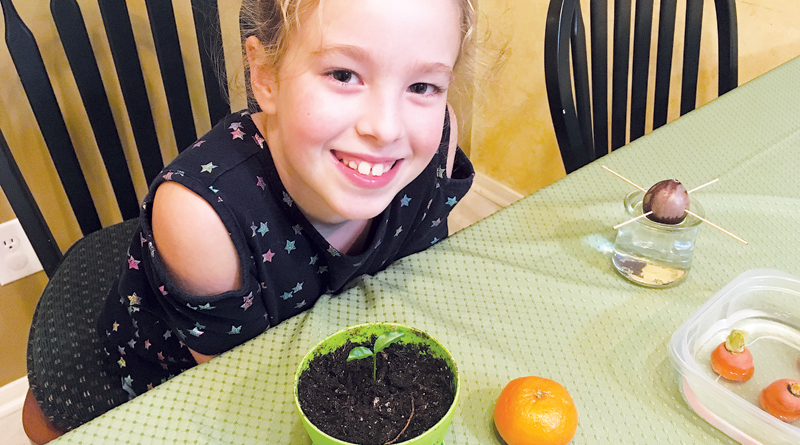
The pantry is full of fall favorites like squash, onions and potatoes, but busy schedules may have you finding a
Read More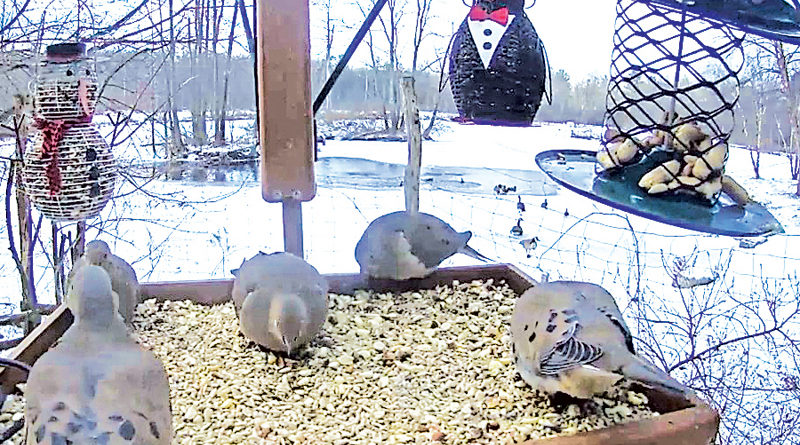
Brighten your winter days by inviting birds into your landscape. Their beauty and motion help enliven the garden and lighten
Read More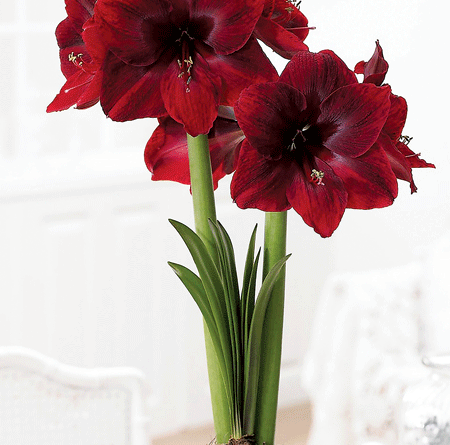
Brighten those gray winter days with a few colorful, easy-care amaryllis. The 6- to 10-inch trumpet shaped blossoms are sure
Read More
Ease into the hectic holiday season with the help of aromatherapy. The fragrances of plant-derived essential oils have long been
Read MoreDaffodils have a cheery presence in the spring garden and are a surefire way to chase away the winter blues.
Read More
Help your houseplants make a smooth transition from their outdoor summer home back inside for winter. The lower light and
Read More
Whether planting a tree to add seasonal beauty, grow backyard fruit, provide a bit of shade, or reduce energy costs,
Read MoreDo just one thing this fall and you can improve the health and vigor of your lawn. Fall fertilization helps lawns
Read MoreYou spent the summer weeding, watering and tending to your vegetable garden. Now all your effort has paid off with
Read More
A garden filled with flowers, birds, bees and butterflies is a sight to behold. These winged beauties add color, sound
Read More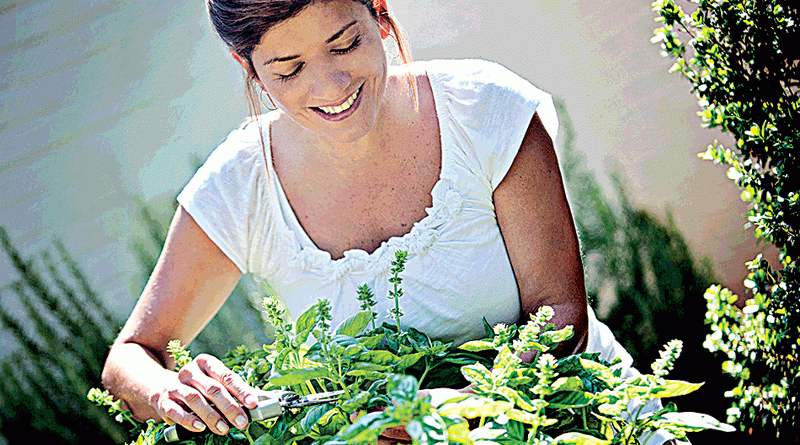
Enjoy herbs all year round. Harvest herbs now for garden-fresh meals and preserve a few for the winter ahead. Snip
Read MorePlan now for a memorable grand finale in this year’s garden. Dahlias are spring-planted bulbs with big, colorful flowers that
Read More